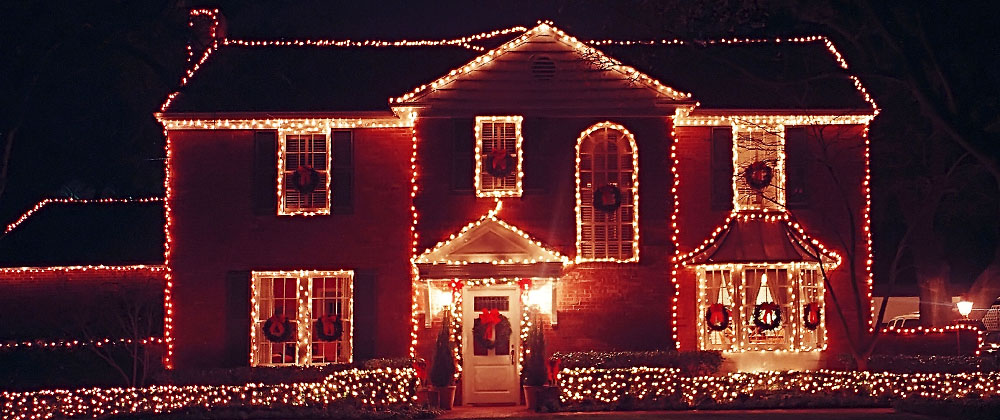
After the year we’ve had, it seems we’re all looking forward to the comforts of the holiday season! If you’re eager to get in the spirit, your timing is perfect—now is the time to start hanging your holiday lights.
While it’s a great time to start illuminating your home for the season, it’s always best to have a clear plan to ensure your lights go up quickly and safely. We’ll spare you the details, but the truth is that hasty holiday lighting jobs can be seriously risky. Enjoy your lighting safely and get the job done quickly with these tips!
When to Hang Holiday Lights
It may seem early to decorate for the holidays, but the relatively mild temperatures we’re having now are the perfect opportunity to check this task off your to-do list. Hang holiday lights on a mild day, preferably a weekend when you can start while there’s a few hours of daylight to spare. Avoid getting started on a snowy, rainy, or windy day; they all add more risk to the process, and you’ll definitely feel the chill!

Holiday Lighting Supplies
Before you start, make sure you have all the right supplies. They are:
Lights
No surprises here! We recommend LED lights over incandescent; they’re a little more costly up-front, but they’ll save you much more in terms of longevity and energy-efficiency. You may also want to opt for shorter rather than longer strings; they’re easier to install and even easier to replace as needed.
Light Clips
Use plastic light clips designed for hanging holiday lights; they’re your best bet for simple installation that doesn’t damage your home.
Extension Cord(s)
Choose heavy-duty extension cords rated for outdoor use.
Ladders
If your eaves are low, you may be able to manage with a stepladder, but most homes will require an extension ladder.

Automatic Timer
These are technically optional, but they will save you a lot of hassle for years to come!
Tool Belt or Lightweight Cross-Body Bag
These are great for holding supplies, like clips and light string, so you can use both hands freely on the ladder.
Holiday Lighting Safety Protocols
Never hang your Christmas lights alone! Hanging lights requires an extension ladder, which is a two-person job at least. Leave the holiday heroism to Santa and partner with a family member, friend, or neighbour to spot you as you work.
How Do I Hang Holiday Lights?
Deck your home out as safely and efficiently as possible with these steps!
1. Measure Your Home
Before purchasing your lights, measure the perimeter of your home to get a sense of the total length your strings will need to add up to. Take into account the distance to your outlet, as well as the angle of your roof, which can add significant length to your measurement. When in doubt, purchase one extra string versus what you think you need. When hanging lights, it’s better to have too many than not enough!

2. Test the Lights
Before you go through the trouble of installing your lights, test each string by plugging them in one by one. Now is the right time to ensure each one is working properly and none of the bulbs are burnt out. It’s much easier to replace the lights before they’re on the house!
3. Locate the Outlet
Heavy-duty extension cords should ideally be plugged into an automatic timer, which is then plugged into a 120-volt electrical outlet with a ground-fault circuit interrupter (or GFCI). Make sure the circuit and the timer are both rated to handle the total amperage of your light strings. Using LED lights should mitigate a lot of risk, as they pull very little power compared to traditional incandescents.

4. Ladder Up!
Most homes will require the use of an extension ladder for hanging holiday lights. Avoid leaning the ladder directly against the eavestroughs, and lean instead against the exterior wall of the house if at all possible. Make sure the ladder is angled steeply enough to be secure, and upright enough for comfortable installation. Have a friend or family member spot you at the bottom to ensure the ladder stays securely in place.
5. Clip & Place Your Lights
Start from the end of your home nearest the extension cord. Double-check that the end of the light closest to the extension cord is the compatible (male) end. Before connecting a new string, always connect it to the previous string before you start hanging!
The best and safest way to secure holiday lights to your home is with plastic clips, which clip easily to your eavestroughs. The clips have hooks on the bottom that hold the strings in place. Spacing out your clips as evenly as you can, add a clip, hook the string, and repeat until you need to move the ladder. Some lights come with pre-attached clips—these are great for taking the guesswork out of spacing and saving a lot of time on big jobs.
Some folks prefer to trade off with their spotter each time they move the ladder. This allows each person to take breaks while keeping the process moving, which can help you avoid careless accidents.

If you want to light the edges of your window trim, use rope light clips. These allow you to install multiple clips at a time and secure them with nails or adhesive. Never puncture your string lights with nails or staples as it sets you up for electrical and fire hazards. Keep in mind as well that, when lighting windows, it’s much more difficult to hide your extension cord, so decide how you’ll work around that before you start!
6. Lighting Trees
If you have some gorgeous trees you’d like to highlight with lighting, try a light-hanging pole! The pole makes it safer and easier to position your lights where you want them.
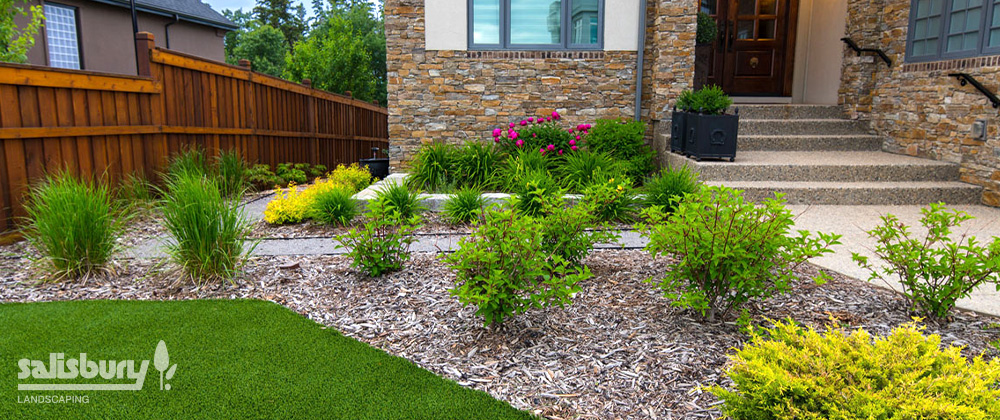
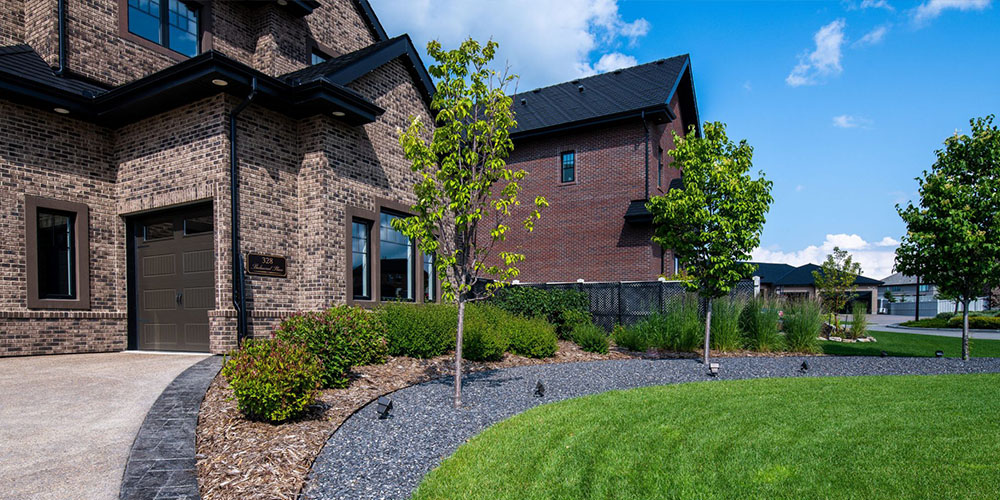
If your landscape needs more than lighting to look its best, contact our team! We specialize in giving your home amazing curb appeal that impresses throughout all four seasons.